Home > Blog > How to Clean Wax Warmer for Hair Removal: A Step-by-Step Guide
How to Clean Wax Warmer for Hair Removal: A Step-by-Step Guide
Wax warmers are an essential tool for hair removal, offering a convenient and effective way to achieve smooth skin at home or in salons. However, like any beauty tool, they require proper care and maintenance to ensure optimal performance. Regular cleaning is a crucial aspect of maintaining your wax warmer, yet it’s often overlooked. In this article, we’ll dive into how to clean out wax warmer, explore the best way to clean wax warmer, and provide step-by-step instructions on how to remove wax from wax machine effectively.
Why Clean Your Wax Warmer?
Cleaning your wax warmer is about more than just appearance. Over time, wax residue can accumulate on the sides and bottom of the pot, creating a sticky mess. This buildup can harbor bacteria, impact the efficiency of your warmer, and even affect the quality of your waxing sessions. A neglected wax warmer can lead to uneven heating, which may result in burns or an ineffective hair removal process.
Moreover, leftover wax can mix with new wax, altering its consistency and making it less effective. By learning how to clean out a wax warmer, you not only maintain hygiene but also prolong the life of your device, ensuring every waxing session is smooth and hassle-free.
Essential Cleaning Tools
Before diving into the cleaning process, gather the necessary supplies. Having the right tools on hand will make the job easier and more efficient. Here’s what you’ll need:
Wooden spatulas or popsicle sticks: For scraping off hardened wax.
Soft cloths or paper towels: To wipe away residue.
Cotton pads: For cleaning smaller or intricate areas.
Isopropyl alcohol (70% or higher): To dissolve wax and sanitize the surface.
Oil (coconut or baby oil): To loosen stubborn wax spots.
Heat-resistant gloves: For safety while handling a warm pot.
Disposable liners (optional): To reduce wax buildup in the future.
Having these tools ready will streamline the cleaning process and prevent unnecessary delays.
Step-by-Step Cleaning Guide
Cleaning your wax warmer doesn’t have to be daunting. Follow these simple steps to restore your device to its original condition:
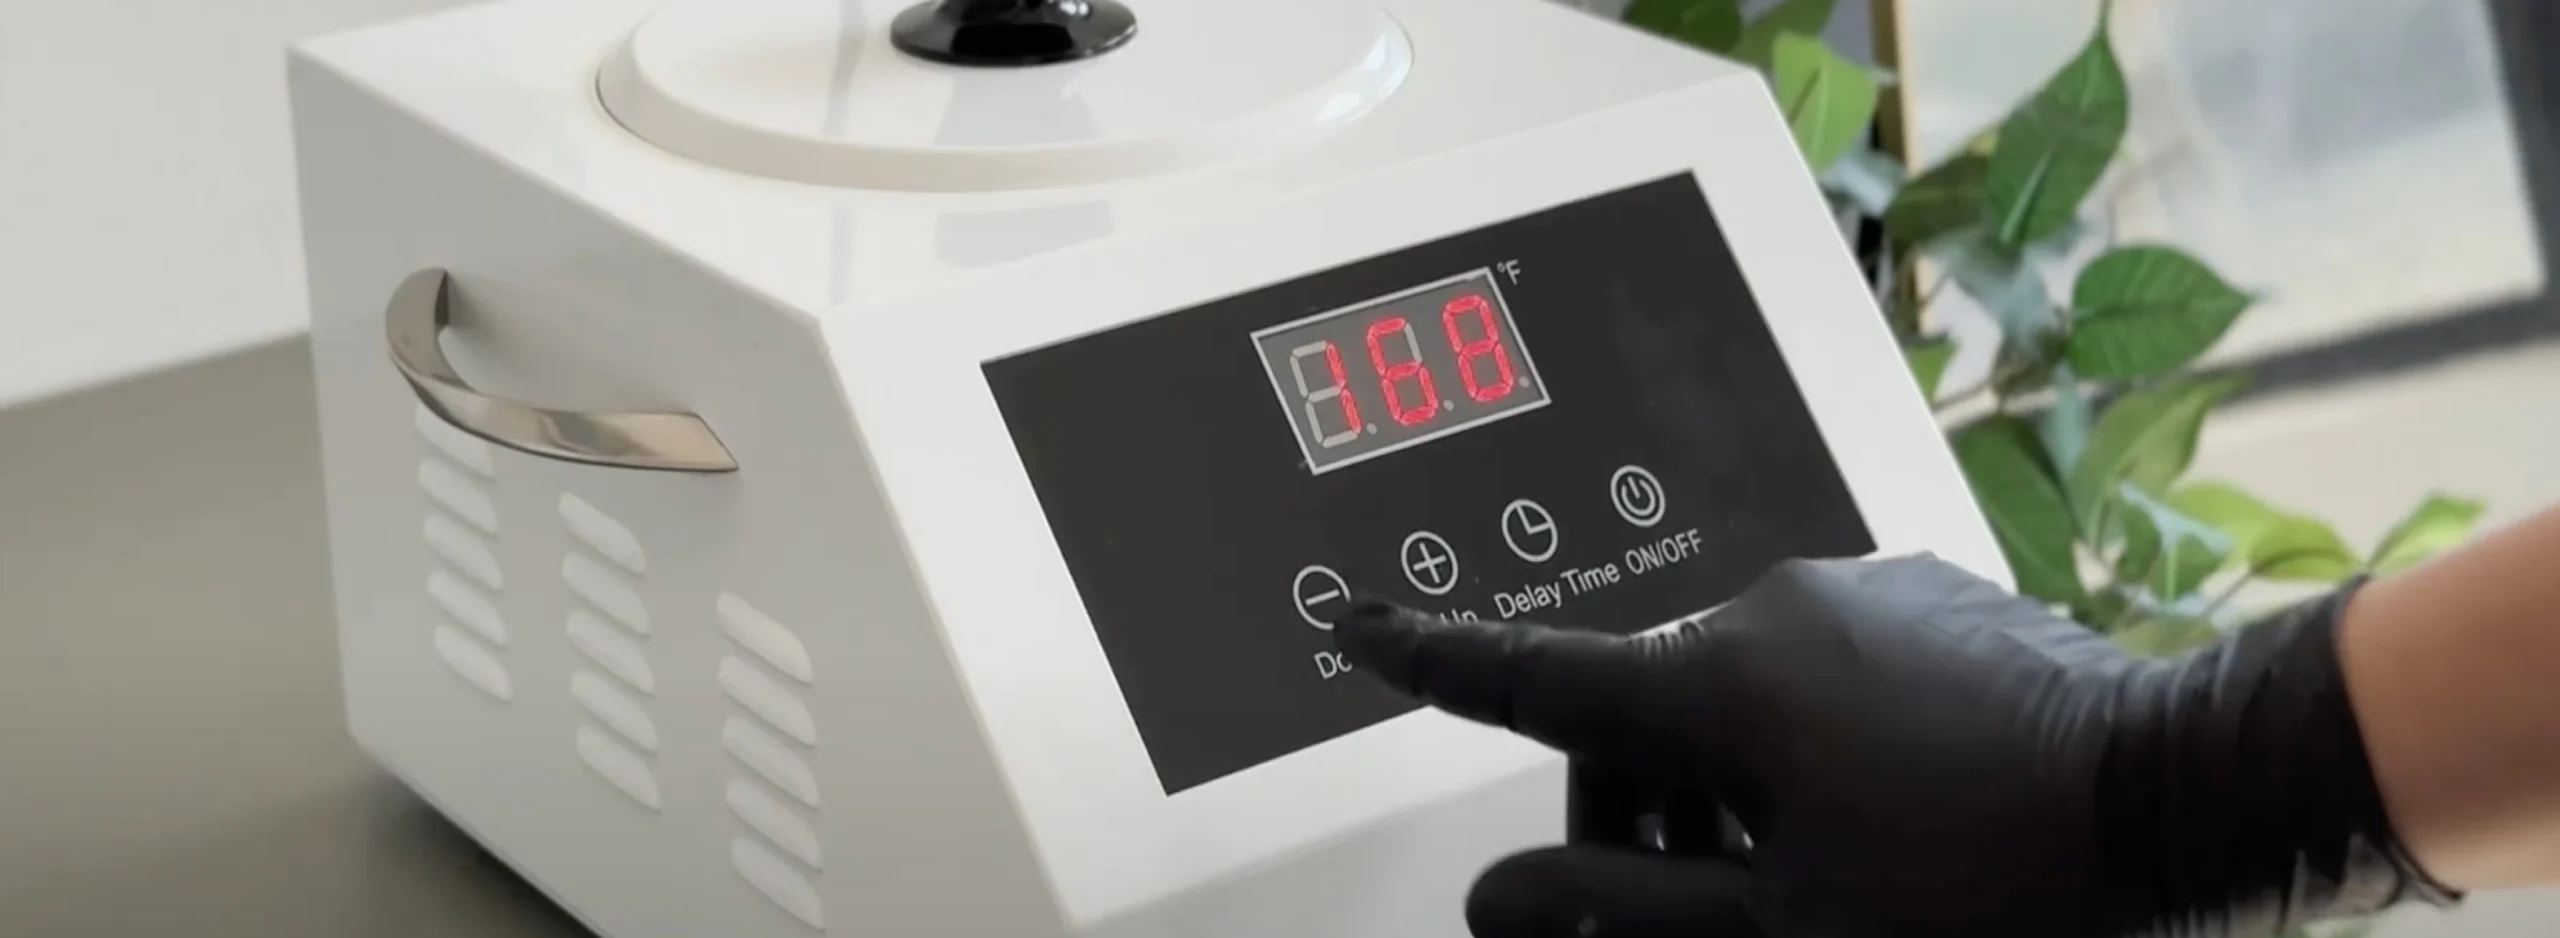
Step 1: Turn Off and Unplug the Wax Warmer
Always start by ensuring the warmer is turned off and unplugged. Allow it to cool slightly, but not completely. A slightly warm surface is easier to clean as the wax remains pliable.
Step 2: Remove Excess Wax
Use a wooden spatula or popsicle stick to scrape off as much wax as possible from the pot. Work carefully to avoid damaging the interior surface. Dispose of the scraped wax in a suitable container.
Step 3: Wipe with a Soft Cloth
Take a soft cloth or paper towel and wipe down the remaining wax residue. For hard-to-reach areas, cotton pads can help ensure thorough cleaning.
Step 4: Apply Oil to Stubborn Spots
For stubborn wax that won’t budge, apply a small amount of coconut or baby oil to the area. Let it sit for a few minutes to break down the wax, then wipe it away with a clean cloth.
Step 5: Use Isopropyl Alcohol for a Deep Clean
Dampen a cotton pad or cloth with isopropyl alcohol and thoroughly wipe the interior and exterior surfaces of the warmer. This will not only remove any leftover wax but also sanitize the device.
Step 6: Clean the Lid and Exterior
Don’t forget the lid and outer surfaces of the warmer. These areas can also collect wax residue and dust over time. Use the same cleaning steps as above for a polished finish.
Step 7: Let It Dry Completely
Allow your wax warmer to air dry completely before using it again or storing it. This ensures no moisture remains, which could interfere with the next use.
By following these steps, you’ll master how to clean out a wax pot and keep your device in peak condition.
Tips for Maintaining Your Wax Warmer
Consistent maintenance will prolong the life of your wax warmer and keep it functioning optimally. Here are some tips to ensure your device stays in great shape:
Clean after every use: Make it a habit to clean your wax warmer after each session. This prevents residue from hardening.
Use high-quality wax: Low-quality wax can leave more residue. Opt for premium options like Italwax hard wax.
Avoid overfilling: Always use the recommended amount of wax to prevent spillage.
Store properly: Keep your wax warmer in a cool, dry place when not in use.
Inspect regularly: Check for wear and tear or malfunction. For professional needs, consider upgrading to a pro wax warmer.
Regular upkeep ensures that your wax warmer remains a reliable part of your hair removal routine.
A clean wax warmer is essential for effective and hygienic hair removal. By taking the time to clean and maintain your device, you ensure that it performs well and lasts for years. Whether you’re a professional esthetician or a DIY enthusiast, knowing how to clean wax warmer for hair removal is a skill that will make every session smoother and more enjoyable.
Regular cleaning not only keeps your waxing sessions efficient but also ensures the safety and satisfaction of all users. By following this guide, you’ll master how to remove wax from a wax machine and maintain a reliable tool for your beauty routine. Take the time to care for your wax warmer, and it will take care of you!
For a range of durable and efficient wax warmers, explore options like the double wax warmer. With proper care, your wax warmers will continue delivering smooth, hassle-free results for years to come.