Home > Blog > How to Use a Wax Warmer for Hair Removal
How to Use a Wax Warmer for Hair Removal
Smooth, hair-free skin is a beauty goal for many, but achieving professional results at home can be a challenge. One of the most important factors for successful waxing is ensuring the wax is heated to the perfect temperature. Using a wax warmer makes this process not only easier but also more efficient, providing salon-like results in the comfort of your home. This article will guide you through how to use a wax warmer for hair removal, covering every step in detail and addressing common challenges.
Understanding Wax Warmers
A wax warmer is a small, electrically powered device designed to heat wax to the ideal temperature for hair removal. It ensures the wax is evenly melted, making it easier to apply and less likely to cause burns or irritation.
Types of Wax Compatible with Wax Warmers
When learning how to use a wax warmer, it’s essential to understand the types of wax it can handle. The most common options include:
Hard wax: Best for sensitive areas like the bikini line or underarms, as it adheres to hair but not skin.
Soft wax: Ideal for larger areas like legs and arms; it requires non-woven strips for removal.
Wax cartridges: Designed for roll-on application, compatible with specific wax warmer models.
Choosing the right type of wax for your needs ensures optimal results. For professional-quality equipment, check out options like the Pro Single Roll-On Warmer.
How to Use a Wax Warmer: Step-by-Step Guide
Using a wax warmer may seem intimidating at first, but with the right approach, it’s straightforward. Follow these steps to ensure a smooth experience:
Step 1: Choosing the Right Wax Warmer
The first step to mastering how to use a wax machine is selecting the right one. Consider these factors:
Size: If you plan to wax large areas frequently, opt for a larger capacity warmer like the Pro Wax Warmer 10 lbs.
Adjustable temperature settings: Look for devices with a thermostat to control heating precisely.
Material quality: Ensure the warmer is made of durable, heat-resistant materials for safety and longevity.
Investing in a quality wax warmer will make your at-home waxing experience safer and more efficient.
Step 2: Setting up the Wax Warmer
Once you have your wax warmer, it’s time to set it up properly:
Plug it in: Position the warmer on a stable, heat-resistant surface and connect it to a power source.
Add wax: Pour wax beads, place a wax can, or insert a wax cartridge into the warmer, depending on the type of wax you’re using.
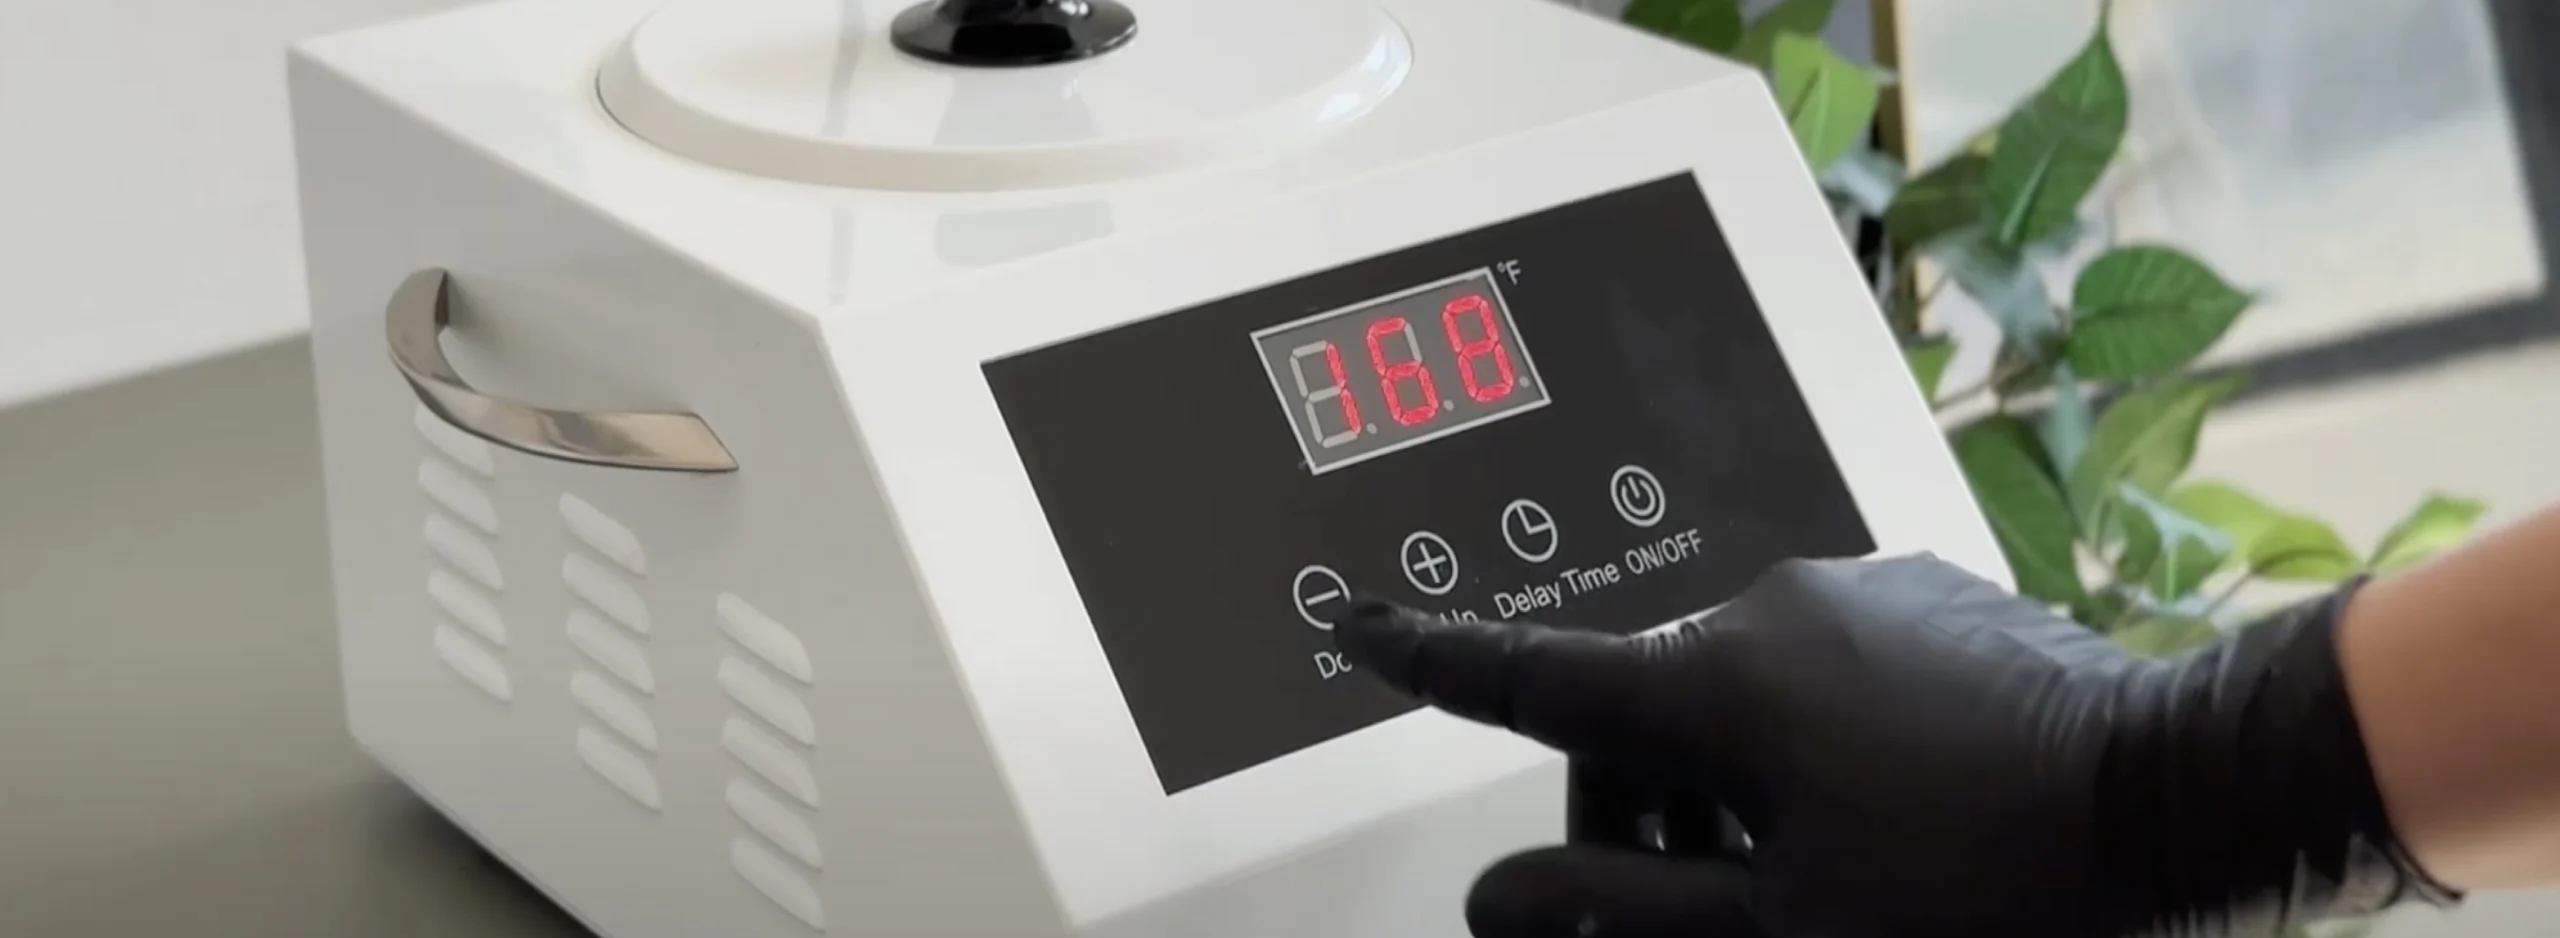
Adjust the temperature: Set the dial to the recommended heat setting. Start low and gradually increase to avoid overheating.
Taking your time to set up the warmer correctly ensures consistent heating and prevents wax from becoming too hot. For versatile options, consider the Double Wax Warmer for simultaneously heating multiple wax types.
Step 3: Melting the Wax
The melting process is critical for successful hair removal:
Heating time: Wax beads or containers usually take 15–30 minutes to melt fully. Follow the instructions on the product packaging.
Check the consistency: Properly melted wax should have a honey-like texture — neither too runny nor too thick.
Avoid overheating: High temperatures can make the wax too hot for safe application. Stir the wax occasionally to distribute heat evenly.
To avoid common mistakes, monitor the wax during melting and adjust the temperature as needed. A high-capacity warmer like the Wax Warmer 14 oz can handle large quantities of wax efficiently.
Step 4: Testing the Wax
Before applying wax to a larger area, always perform a patch test:
Patch test: Use a small amount of wax on a less visible area, such as the wrist, to test for allergies or irritation.
Temperature check: Apply a drop of wax on your wrist to ensure it’s not too hot.
Testing the wax not only ensures safety but also gives you confidence in its effectiveness.
Troubleshooting Tips
Even with careful preparation, challenges can arise. Here’s how to handle them:
Uneven melting: If the wax doesn’t melt evenly, stir it frequently and check the warmer’s temperature settings.
Sticky wax: If the wax is too sticky, it may need more time to melt. Alternatively, adjust the temperature slightly higher.
Brittle wax: Wax that becomes brittle might be overheated. Lower the temperature and allow it to cool slightly.
Removing leftover wax: Use a non-abrasive scraper or a specialized wax cleaner to remove hardened wax from the warmer.
Addressing these issues ensures a smoother waxing process and prolongs the lifespan of your wax warmer.
Using a wax warmer for hair removal can transform your at-home beauty routine, offering convenience and professional results. By understanding how to use a wax warmer, selecting the right device, and following proper techniques, you can achieve smooth, hair-free skin without the hassle of salon appointments. With a little practice and the tips shared here, your waxing sessions will become easier and more effective.