FREE SHIPPING on orders over $200! Register now to access pro-only pricing and exclusive perks
FREE SHIPPING on orders over $200! Register now to access pro-only pricing and exclusive perks

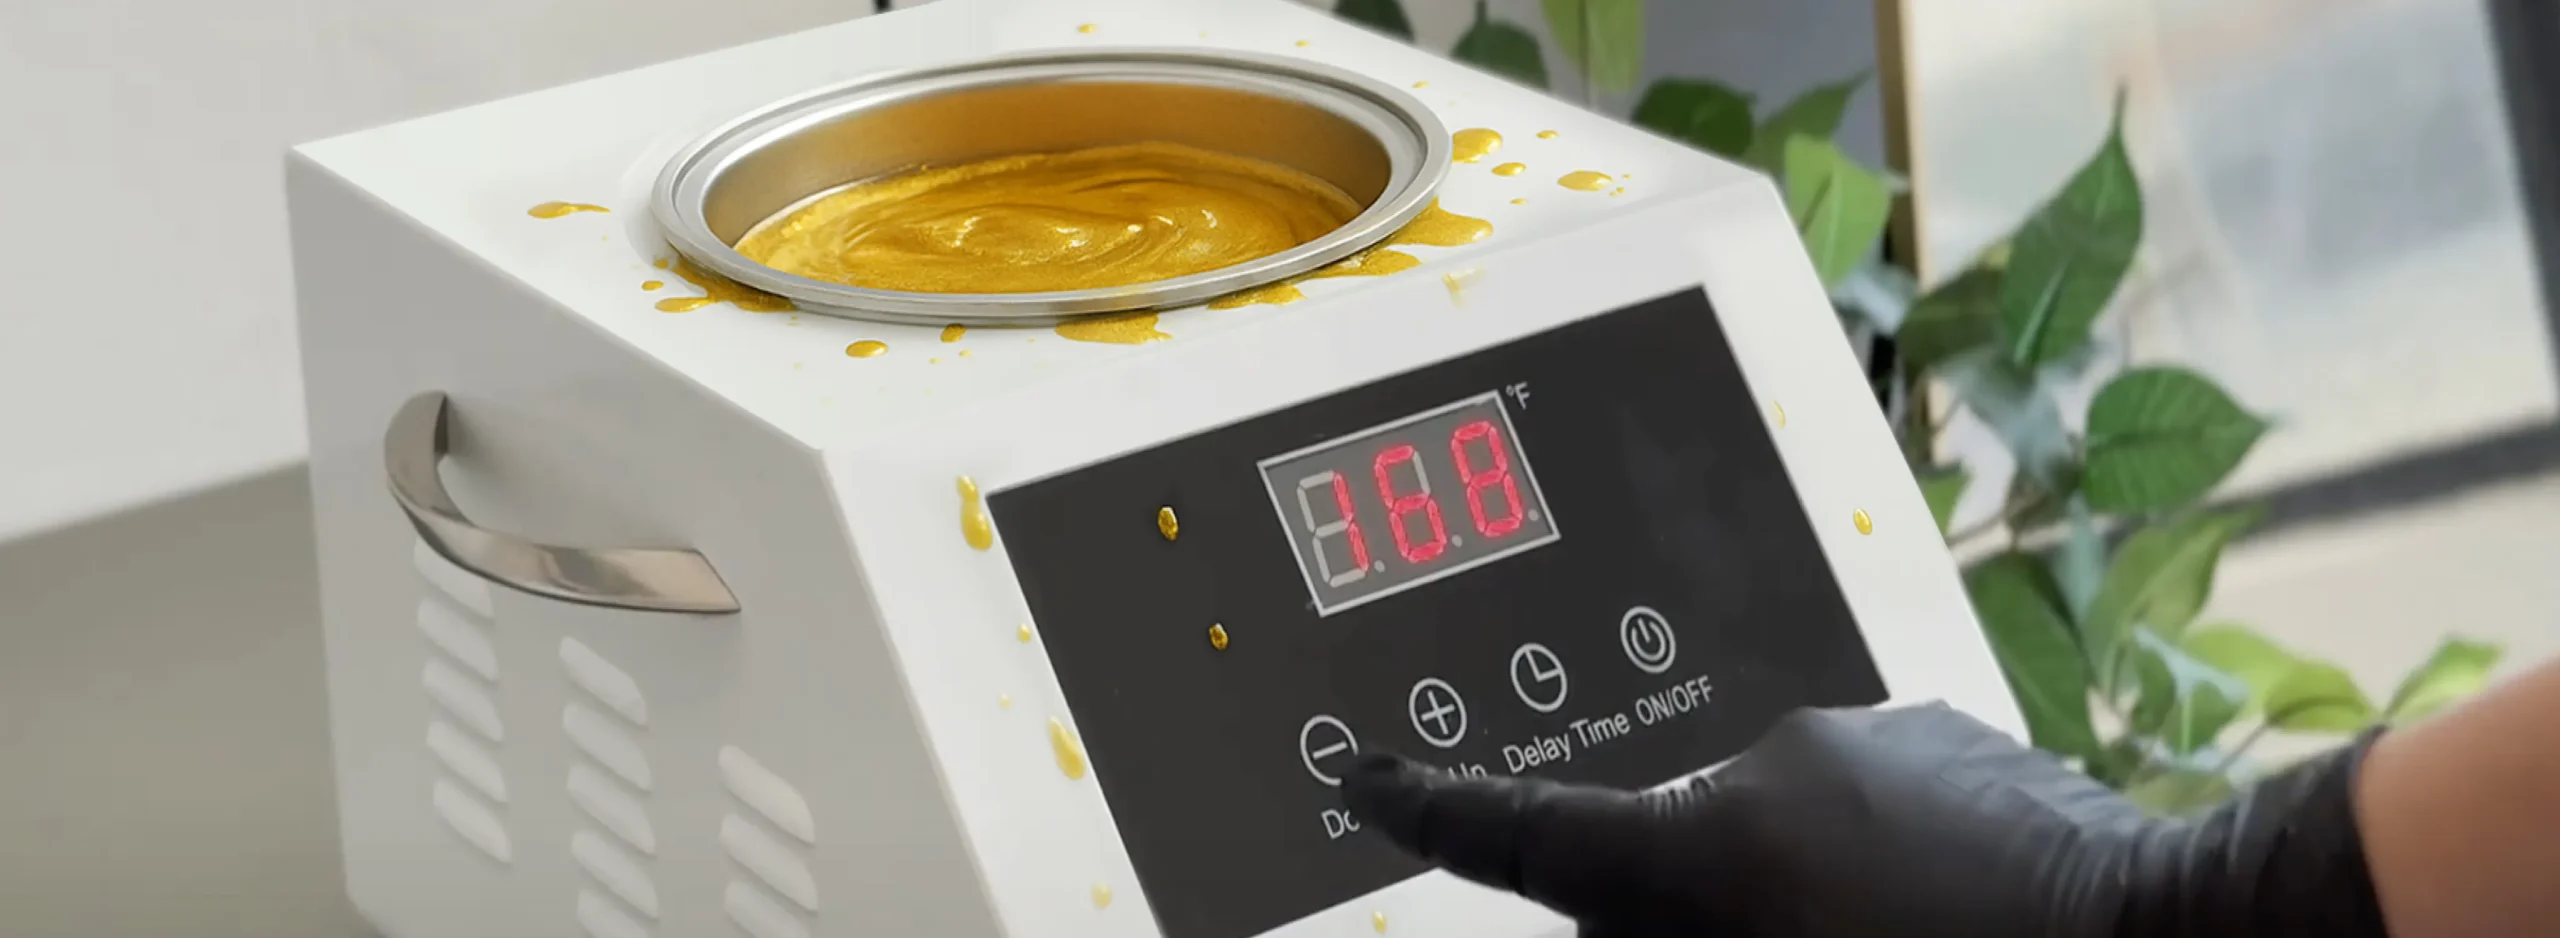
Using a wax warmer is crucial for safe and effective hair removal. Start by plugging in the device and adjusting the temperature according to the type of wax. Place the wax into the warmer pot and let it melt to a honey-like consistency. Test the temperature on your wrist before applying the product. Use a wooden spatula to spread the wax in the direction of hair growth, then remove it quickly against the direction of growth. Always clean the warmer after use and follow hygiene practices to ensure safe and professional results.
Wax pots vary by design and purpose, depending on the type of wax used and the scale of procedures. The main categories include single-pot warmers, double-pot warmers, roll-on warmers, and cartridge systems.
Choosing the right wax pot depends on treatment volume, wax format, and workflow needs.
The Pro Wax Warmer 10 lbs is a high-capacity device designed for continuous use in busy salons. It accommodates large volumes of wax, making it ideal for back-to-back treatments without requiring frequent refills. This model is compatible with both hard and soft wax.
For medium workloads, the Wax Warmer 5 lbs offers a practical balance between capacity and space efficiency. It provides consistent temperature control and is ideal for professionals who work with multiple clients daily.
The Wax Warmer 14 oz (1 lb) is perfect for solo estheticians or low-volume treatments. Despite its small footprint, it ensures accurate temperature regulation and compatibility with both hard and soft wax formats.
Before each session, the wax warmer must be correctly prepared to ensure hygiene, safety, and practical wax application. Start by placing the device on a stable, heat-resistant surface, away from water sources and direct airflow. Ensure the pot is clean and free from wax residue or contaminants. If needed, wipe the inner surface with a suitable disinfectant and allow it to dry completely.
Insert the appropriate wax type – hard or soft – directly into the pot or in a removable container, depending on the pot’s design. Plug in the device and set the temperature according to the manufacturer’s recommendations. For hard wax, the temperature is typically between 60–70°C; for soft wax, it is around 50–60°C. Allow it to melt entirely, stirring occasionally with a disposable spatula to achieve a uniform, honey-like consistency.
Before starting the procedure, test the wax temperature on your inner wrist to ensure it is warm but not hot. Close the pot lid if available to maintain consistent heat and prevent contamination during the session.
To melt wax correctly, start by ensuring your device is clean and placed on a flat, heat-resistant surface. Use only professional depilatory wax, placing it directly into the pot or in a removable insert, depending on the model.
Set the temperature according to the type of material used. For hard types, select a setting between 60–70°C; for soft varieties, 50–60°C is usually sufficient. Avoid overheating, as it can alter consistency and increase the risk of burns.
Allow the wax to heat for 20 to 40 minutes, depending on volume and pot capacity. Stir gently every few minutes using a wooden spatula to ensure even melting and a consistent texture. It should reach a thick, honey-like consistency that spreads smoothly without dripping.
Do not add water or any other substances to the wax. Before application, test a small amount on the inside of your wrist to confirm a safe temperature. During use, monitor the consistency and re-stir if needed. After the session, turn off the warmer, allow the wax to cool, and clean the device according to the manufacturer’s instructions.

The safe use of a wax warmer is essential to prevent burns, equipment damage, and contamination. Always follow the manufacturer’s instructions and maintain strict hygiene:
Proper cleaning and maintenance of a wax pot after each use are crucial to ensure hygiene and prolong the device’s lifespan. Begin by switching off the warmer and unplugging it from the power source. Wait until the unit has cooled completely to avoid the risk of burns or damage to its internal components.
Once cooled, remove any remaining wax using a wooden spatula. If the wax is too hard, turn the warmer back on briefly to soften it, making removal easier. After most of the wax is removed, use a professional wax cleaner or an oil-based solvent on a soft cloth to thoroughly clean the inner pot. Avoid contact with water or abrasive materials that could damage the surface or electrical components.
Clean the exterior of the device and its lid with a disinfectant wipe or alcohol-based solution, paying special attention to edges and crevices where residue may accumulate. Ensure all surfaces are dry before use.
Inspect the power cord and heating plate regularly for signs of wear and tear. If any damage is found, discontinue use until repairs are made. Store the tool in a dry, dust-free environment with the cord neatly wrapped to prevent it from becoming damaged or deformed.


Having trouble registering?
Share your email with us and we’ll personally assist you as soon as possible.